
Use this path for new hardware, a replacement disk, or a fresh virtual machine. The media already contains the Ixolate plugin and the optional-feature catalogue, so the installer never needs the network.
1. Download and verify the media
All media is published at https://repo.ixolate.com/ixolate/images/. Three forms exist:
| File | Use it for |
|---|---|
Ixolate-<version>-dvd-amd64.iso.bz2 |
Installer ISO. Boots on BIOS and UEFI. Burn to USB or attach to a VM. |
Ixolate-<version>-vga-amd64.img.bz2 |
Installer USB image. Write it to a USB stick with dd. |
Ixolate-<version>-nano-amd64.img.bz2 |
Pre-installed system for appliances that boot straight from the written disk (no installer). |
Every file has a matching .sha256. Verify before writing anything:
curl -O https://repo.ixolate.com/ixolate/images/Ixolate-26.7-dvd-amd64.iso.bz2
curl -O https://repo.ixolate.com/ixolate/images/Ixolate-26.7-dvd-amd64.iso.bz2.sha256
shasum -a 256 -c Ixolate-26.7-dvd-amd64.iso.bz2.sha256   # Linux: sha256sum -c
bunzip2 -k Ixolate-26.7-dvd-amd64.iso.bz2
MANIFEST-<version>.txt next to the files records when the media was built and which plugin version it carries.
Write a USB stick (macOS shown; replace diskN after checking diskutil list):
sudo dd if=Ixolate-26.7-vga-amd64.img of=/dev/rdiskN bs=4m status=progress2. Boot the installer
Boot from the USB stick or ISO. The live system comes up branded and prints the console banner:
*** ixolate.internal: Ixolate 26.7 (amd64) ***
 LAN (vtnet0)  -> v4: 192.168.1.1/24
 WAN (vtnet1)  -> v4/DHCP4: ...
Log in as installer with the default password Ixolate to start the installer (logging in as root keeps you in live mode).
- Keymap – accept the default.
- Install (ZFS) – choose stripe and select the target disk. Confirm that the disk may be erased.
- Wait for Cloning current system and Preparing target system to reach 100 %.
- Complete Install, then Halt now. Remove the media and power the box on again.
The box boots from disk into the same branded banner. The first NIC is LAN (192.168.1.1/24 with DHCP enabled), the second is WAN (DHCP client).
3. First login and basics
Open https://192.168.1.1 from a computer on the LAN port. Log in as root / Ixolate and change the password immediately under System › Access › Users.
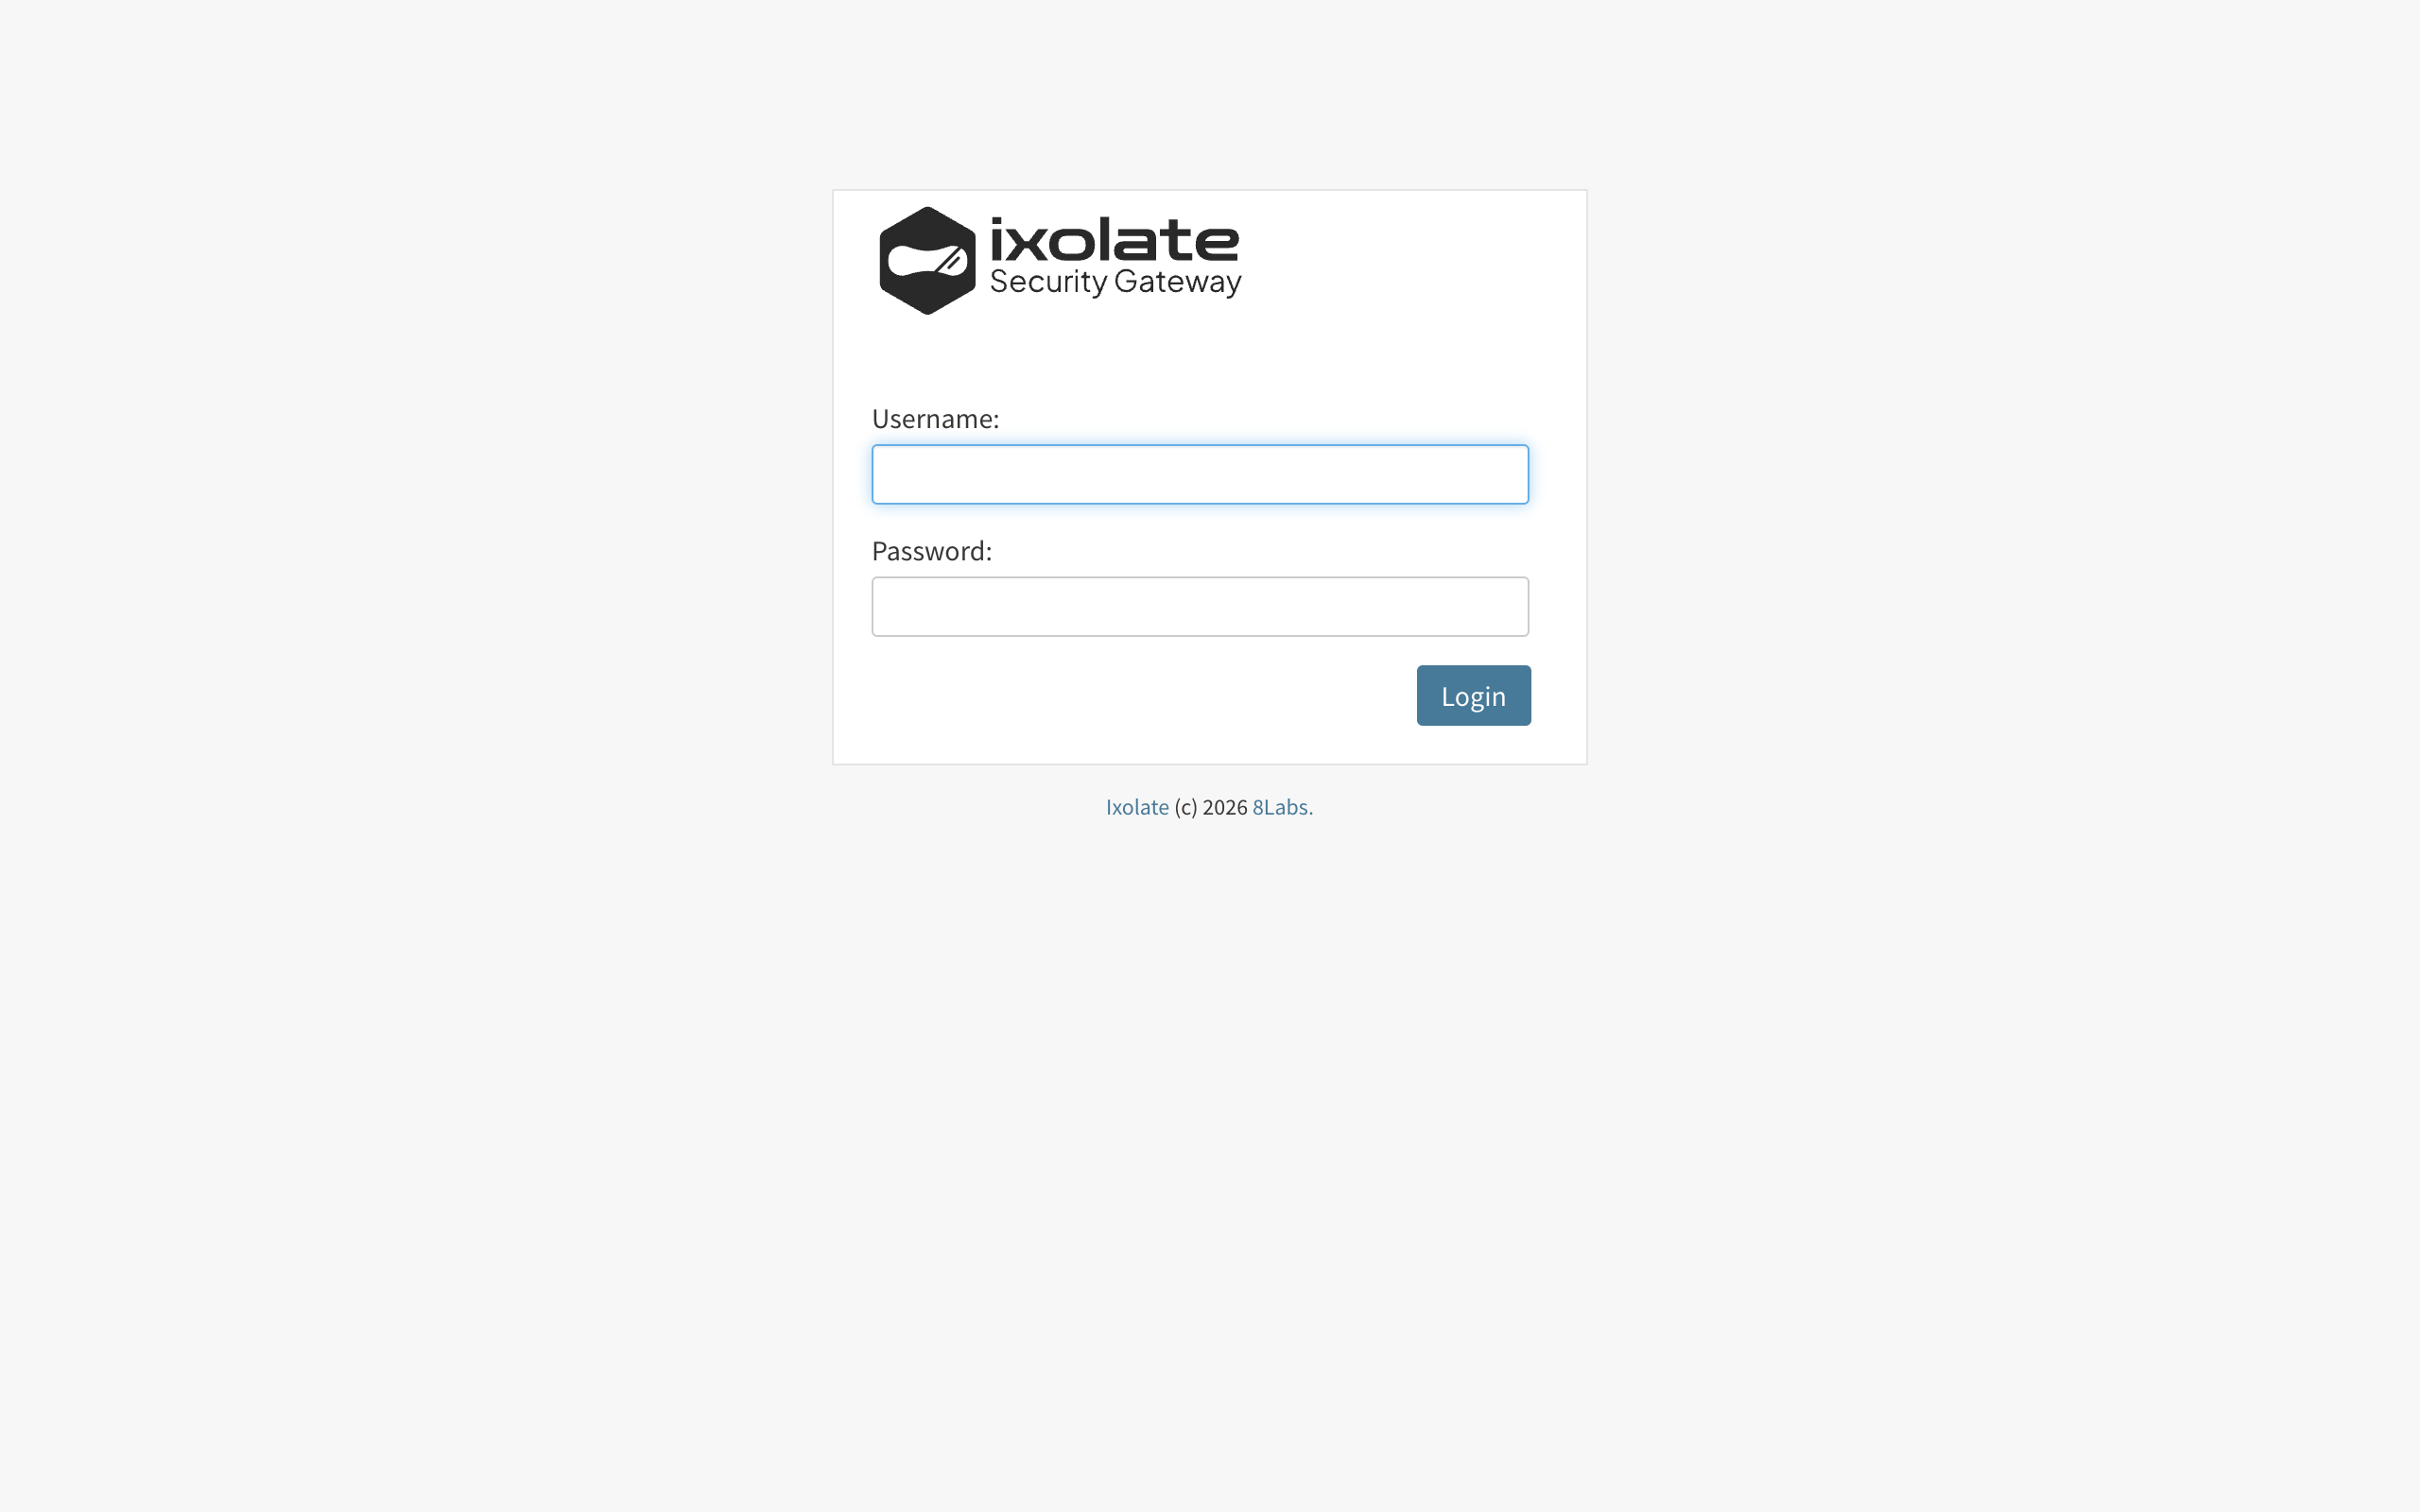
Then, in this order:
- System › Settings › General – hostname, domain, DNS servers, time zone.
- Interfaces › Assignments – confirm which physical port is LAN and which is WAN. On real hardware the driver names (
igb0,em0, …) decide the order; label the ports. - Interfaces › LAN – set the LAN address for your network.
- System › Updates & License – enter the subscription key and check for updates. See Updates & License.
4. Verify
- The dashboard, page titles and console banner all say Ixolate.
- System › Updates & License shows the mirror as
https://repo.ixolate.com/<your key>after the key is entered. - Optional Features lists the catalogue that shipped on the media.
Anything different: see Troubleshooting or contact support with the hardware ID.